Arduino Micro: A Compact Powerhouse for Embedded Projects
The Arduino Micro is a small, breadboard-friendly board featuring the ATmega32U4 microcontroller, ideal for projects requiring USB connectivity and a compact form factor.
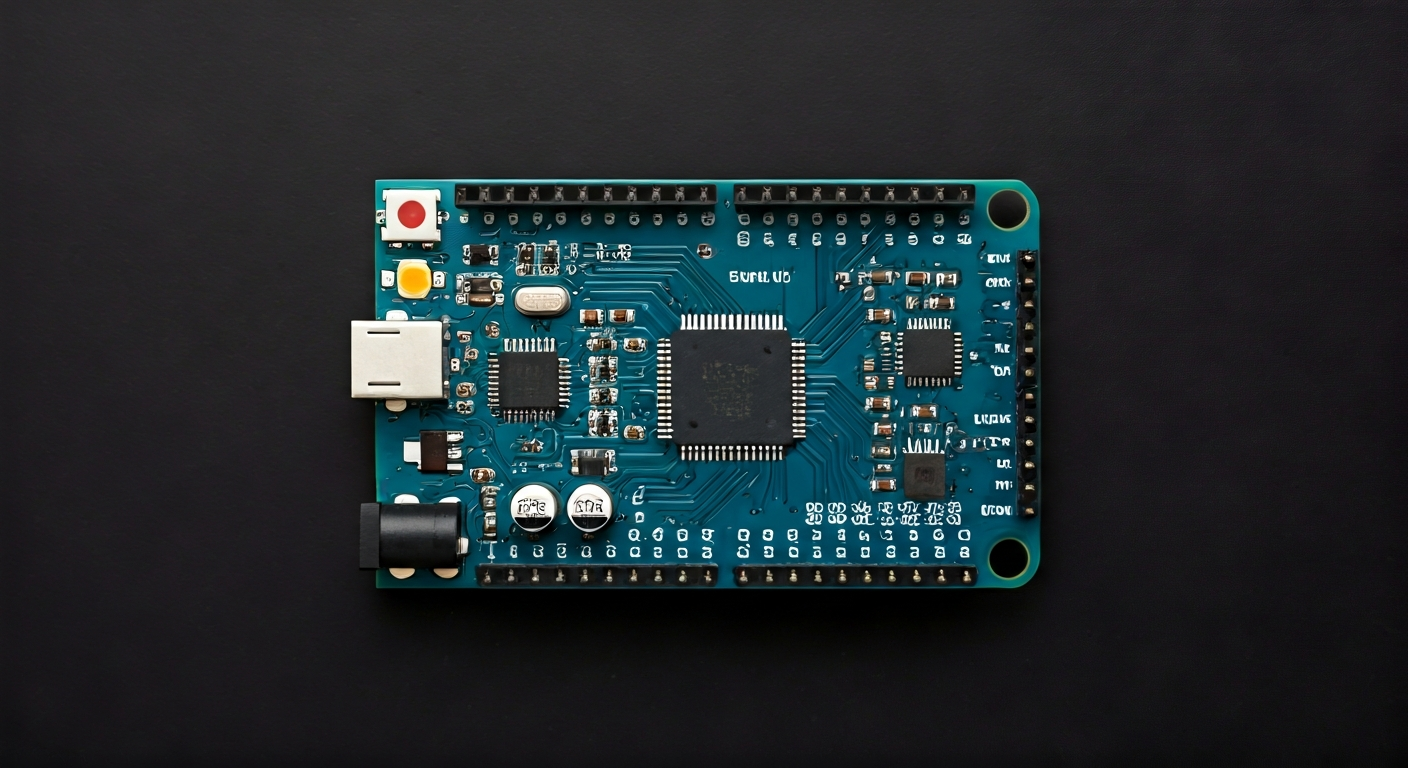
The Arduino Micro is a microcontroller board developed in collaboration with Adafruit. It's built around the ATmega32U4 microcontroller, which features a built-in USB controller. This unique characteristic allows the Micro to appear as a native USB device to a computer, such as a keyboard or mouse, opening up a wide range of creative possibilities beyond typical serial communication.
At its heart is the Atmel ATmega32U4, an 8-bit AVR RISC-based microcontroller. It boasts 32KB of Flash memory for program storage, 2.5KB of SRAM for variables, and 1KB of EEPROM for persistent data. The ATmega32U4 operates at a clock speed of 16MHz and is designed for low-power consumption, making it suitable for battery-powered applications. Its integrated USB functionality significantly simplifies project design by eliminating the need for external USB-to-serial converters.
Positioned as a more compact and integrated alternative to boards like the Arduino Leonardo (which shares the same microcontroller), the Arduino Micro is perfect for makers, students, and embedded engineers who need a powerful yet small board for their projects. Its breadboard-friendly design and USB capabilities make it an excellent choice for rapid prototyping, wearable technology, and projects where space is a premium, such as custom USB devices or compact robotic controllers.
Released around 2012, the Arduino Micro quickly gained popularity for its versatility and ease of use, fitting perfectly into the Arduino ecosystem's philosophy of making microcontroller programming accessible. It offers a compelling balance of features, performance, and size, making it a go-to option for those looking to create interactive projects that can directly interface with computers or act as emulated input devices.
Watch
Related video, embedded from YouTube.
Specifications
| Microcontroller / SoC | Atmel ATmega32U4 |
| Architecture | 8-bit AVR RISC |
| Clock speed | 16 MHz |
| Flash / Storage | 32 KB (of which 4 KB used by bootloader) |
| RAM / SRAM | 2.5 KB |
| EEPROM | 1 KB |
| Operating voltage | 5V |
| Digital I/O pins | 17 (of which 7 can be used as PWM outputs) |
| Analog / ADC | 12 (6 available on headers) |
| PWM | 7 pins (3, 5, 6, 9, 10, 11, 13) |
| Connectivity | I2C, SPI, UART |
| USB | Built-in USB 2.0 Full Speed (12 Mbit/s) - acts as native USB device |
| Power input | 5V via USB or external 7-12V via VIN pin (regulated to 5V on board) |
| Dimensions | 18 mm x 48 mm |
Pinout & pin functions
| Pin | Function |
|---|---|
| GND | Ground |
| 5V | 5V Power Output |
| 3V3 | 3.3V Power Output (from onboard regulator) |
| VIN | External Power Input (7-12V recommended) |
| RESET | System Reset (active low) |
| D0 (RX) | Digital Input/Output, UART Receive |
| D1 (TX) | Digital Input/Output, UART Transmit |
| D2 | Digital Input/Output |
| D3 | Digital Input/Output, PWM |
| D4 | Digital Input/Output |
| D5 | Digital Input/Output, PWM |
| D6 | Digital Input/Output, PWM |
| D7 | Digital Input/Output |
| D8 | Digital Input/Output |
| D9 | Digital Input/Output, PWM |
| D10 | Digital Input/Output, PWM, SPI SS |
| D11 | Digital Input/Output, PWM, SPI MOSI |
| D12 | Digital Input/Output, SPI MISO |
| D13 | Digital Input/Output, SPI SCK, Onboard LED |
| A0 | Analog Input, Digital Input/Output |
| A1 | Analog Input, Digital Input/Output |
| A2 | Analog Input, Digital Input/Output |
| A3 | Analog Input, Digital Input/Output |
| A4 | Analog Input, Digital Input/Output, I2C SDA |
| A5 | Analog Input, Digital Input/Output, I2C SCL |
| A6 | Analog Input, Digital Input/Output |
| A7 | Analog Input, Digital Input/Output |
Wiring & circuit basics
Powering the Arduino Micro is straightforward. It can be powered via its micro-USB port, which is the most common method, especially when programming. Alternatively, an external power supply can be connected to the VIN pin. This VIN pin accepts a voltage range of 7V to 12V, which is then regulated down to 5V by an onboard regulator. It's crucial to ensure the power source is stable and provides sufficient current, typically at least 500mA, to avoid unpredictable behavior, especially when powering external components. The board also provides 5V and 3.3V output pins for powering sensors and other modules; use these judiciously to avoid overloading the onboard regulators.
The Arduino Micro operates at a logic level of 5V. This means that digital HIGH signals are represented by 5V, and LOW signals by 0V. When interfacing with components that operate at different logic levels, such as 3.3V sensors or modules, a logic level converter is necessary to prevent damage to either device. For example, connecting a 3.3V sensor's output directly to a 5V Arduino input pin might not be recognized correctly, and connecting a 5V Arduino output to a 3.3V input could damage the sensor. Always check the voltage requirements of your external components.
A simple example circuit involves connecting an LED to a PWM-capable digital pin. Choose a digital pin that supports PWM, such as D9. Connect the longer leg (anode) of the LED to D9 and the shorter leg (cathode) through a current-limiting resistor (typically 220-330 ohms) to a GND pin. This resistor is essential to prevent the LED from drawing too much current and burning out. When you program the Arduino Micro to blink the LED, the PWM capability of D9 will allow for smooth fading effects.
Programming & getting started
The primary toolchain for the Arduino Micro is the Arduino IDE. Download and install the latest version from the official Arduino website. Once installed, navigate to Tools > Board and select 'Arduino Leonardo' (as the Micro shares the same ATmega32U4 microcontroller and bootloader). Connect the Arduino Micro to your computer via USB. The computer should recognize it as a generic keyboard and mouse device. In the Arduino IDE, select the correct COM port under Tools > Port. You can then write your first sketch, for example, the 'Blink' example, modify the pin number if necessary, and upload it to the board by clicking the Upload button.
For more advanced development or if you prefer a different environment, PlatformIO is an excellent choice. It integrates with various IDEs like VS Code and provides robust build systems and library management for the ATmega32U4. MicroPython and CircuitPython are also viable options, offering a Python-based programming experience on the microcontroller, which can be particularly appealing for rapid prototyping and educational purposes. Uploading MicroPython/CircuitPython typically involves flashing a specific firmware to the board first.