Arduino MKR WiFi 1010: Your Gateway to IoT Projects
A compact, powerful microcontroller board designed for low-power Wi-Fi connectivity, perfect for IoT applications.
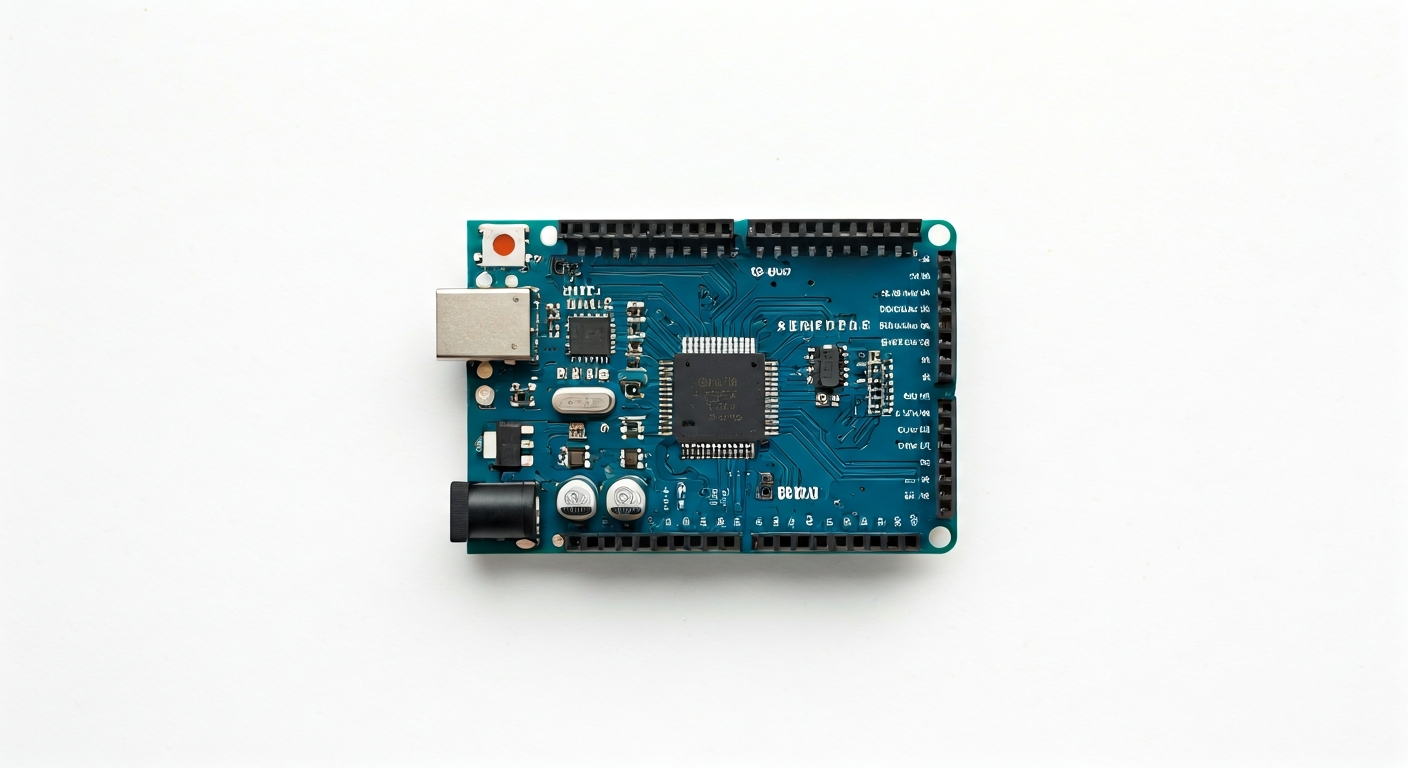
The Arduino MKR WiFi 1010 is a versatile and compact microcontroller board designed by Arduino, specifically targeting the Internet of Things (IoT) space. Released around 2018, it bridges the gap between simple microcontrollers and more complex single-board computers, offering integrated Wi-Fi capabilities without the need for external shields. Its small form factor and low power consumption make it ideal for battery-powered projects and remote deployments.
At the heart of the MKR WiFi 1010 is the Microchip SAMD21 Cortex-M0+ microcontroller, a 32-bit ARM processor known for its efficiency and robust feature set. Complementing the SAMD21 is the u-blox NINA-W102 module, which provides the board's Wi-Fi and Bluetooth Low Energy (BLE) connectivity. This dual-chip architecture allows for powerful processing and reliable wireless communication, making it a strong contender for smart home devices, environmental monitoring, and wearable technology.
Positioned within the Arduino MKR family, the WiFi 1010 builds upon the success of its predecessors by offering enhanced connectivity options and a more capable microcontroller. It's designed for makers, students, and embedded engineers who need a reliable platform for developing connected projects. The board's ease of use, typical of the Arduino ecosystem, is maintained while providing the advanced features required for modern IoT development, including secure communication protocols.
The MKR WiFi 1010 is particularly well-suited for projects that require internet connectivity, such as sending sensor data to cloud platforms, controlling devices remotely via a web interface, or creating mesh networks using BLE. Its compatibility with the Arduino IDE and a wide range of libraries means that even beginners can quickly get started, while its deeper capabilities appeal to experienced engineers looking for a cost-effective and feature-rich IoT development board.
Watch
Related video, embedded from YouTube.
Specifications
| Microcontroller / SoC | Microchip SAMD21 Cortex-M0+ and u-blox NINA-W102 (Wi-Fi/Bluetooth) |
| Architecture | 32-bit ARM Cortex-M0+ |
| Clock speed | 48 MHz |
| Flash / Storage | 256 KB (SAMD21) + 16 MB (NINA-W102 for firmware) |
| RAM / SRAM | 32 KB (SAMD21) |
| Operating voltage | 3.3V |
| Digital I/O pins | 22 (including SPI, I2C, UART) |
| Analog / ADC | 6 (12-bit resolution) |
| PWM | 11 (on various digital pins) |
| Connectivity | 802.11 b/g/n Wi-Fi, Bluetooth 4.2 (BLE) |
| USB | Micro USB connector (for programming and power) |
| Power input | 5V via Micro USB or VIN pin, Li-Po battery connector |
| Dimensions | 67.64mm x 25mm |
Pinout & pin functions
| Pin | Function |
|---|---|
| 3.3V | Power output (regulated 3.3V) |
| GND | Ground |
| VIN | Power input (typically 5V from USB or external supply) |
| RESET | System reset pin |
| D0 (RX) | Digital I/O, UART receive |
| D1 (TX) | Digital I/O, UART transmit |
| D2 | Digital I/O |
| D3 | Digital I/O, PWM capable |
| D4 | Digital I/O |
| D5 | Digital I/O, PWM capable |
| D6 | Digital I/O, PWM capable |
| D7 | Digital I/O |
| D8 | Digital I/O |
| D9 | Digital I/O, PWM capable |
| D10 (CS) | Digital I/O, SPI Chip Select |
| D11 (MOSI) | Digital I/O, SPI Master Out Slave In |
| D12 (MISO) | Digital I/O, SPI Master In Slave Out |
| D13 (SCK) | Digital I/O, SPI Clock |
| A0 | Analog Input, ADC capable |
| A1 | Analog Input, ADC capable |
| A2 | Analog Input, ADC capable |
| A3 | Analog Input, ADC capable |
| A4 (SDA) | Digital I/O, I2C Data |
| A5 (SCL) | Digital I/O, I2C Clock |
| A6 | Analog Input, ADC capable |
| A7 | Analog Input, ADC capable |
| VBAT | Battery voltage input (for Li-Po battery) |
Wiring & circuit basics
Powering the Arduino MKR WiFi 1010 is flexible. The primary method is via the Micro USB port, which supplies 5V. You can also use the VIN pin, which accepts a voltage typically between 5V and 12V, though it's best to stay within the 5V to 7V range to avoid excessive heat on the onboard regulator. For battery-powered projects, a single-cell Li-Po battery can be connected to the VBAT header; the board will automatically switch to battery power when USB is disconnected. Always ensure your power source can provide sufficient current, at least 500mA, especially when the Wi-Fi module is active.
The MKR WiFi 1010 operates at a logic level of 3.3V. This means all digital inputs and outputs, as well as communication interfaces like I2C and SPI, use 3.3V signals. Connecting 5V devices directly to the 3.3V GPIO pins can damage the microcontroller. If you need to interface with 5V logic devices, you must use a logic level shifter. For example, to safely connect a 5V sensor's output to an MKR WiFi 1010 input, a bidirectional logic level converter is recommended. Conversely, the MKR WiFi 1010's 3.3V output can be safely read by most 5V inputs.
A simple example is connecting an LED. Choose a digital pin, for instance, D5, which also supports PWM. Connect the anode (longer leg) of an LED to D5 through a current-limiting resistor (typically 220-330 ohms for standard LEDs). Connect the cathode (shorter leg) of the LED to a GND pin. This setup allows you to control the LED's brightness using PWM or turn it on/off by setting the digital pin HIGH or LOW. For an I2C sensor like a BME280, connect its VCC to the 3.3V pin, its GND to a GND pin, its SDA pin to A4 (SDA), and its SCL pin to A5 (SCL).
Programming & getting started
The primary toolchain for the Arduino MKR WiFi 1010 is the Arduino IDE. Download and install the latest version from the official Arduino website. Once installed, navigate to Tools > Board > Boards Manager, search for 'Arduino SAMD Boards', and install it. Then, select 'Arduino MKR WiFi 1010' from the Tools > Board menu. Connect the board via USB, select the correct COM port under Tools > Port, and you're ready to upload your first sketch. Libraries for Wi-Fi, sensors, and other peripherals can be installed via the Library Manager (Sketch > Include Library > Manage Libraries).
For more advanced users or alternative environments, the MKR WiFi 1010 can also be programmed using PlatformIO within VS Code, which offers excellent library management and debugging capabilities. While not officially supported for MicroPython or CircuitPython in the same way as some other boards, community efforts exist, though they may require specific firmware flashing procedures for the NINA-W102 module. For low-level control and maximum flexibility, the Microchip MPLAB X IDE with the XC32 compiler can be used, but this is a significantly more complex workflow.