Arduino Nano ESP32: The Compact Powerhouse for Connected Projects
Bridging the gap between simple microcontrollers and Wi-Fi enabled systems, the Arduino Nano ESP32 offers a compact, powerful, and versatile platform for IoT and embedded projects.
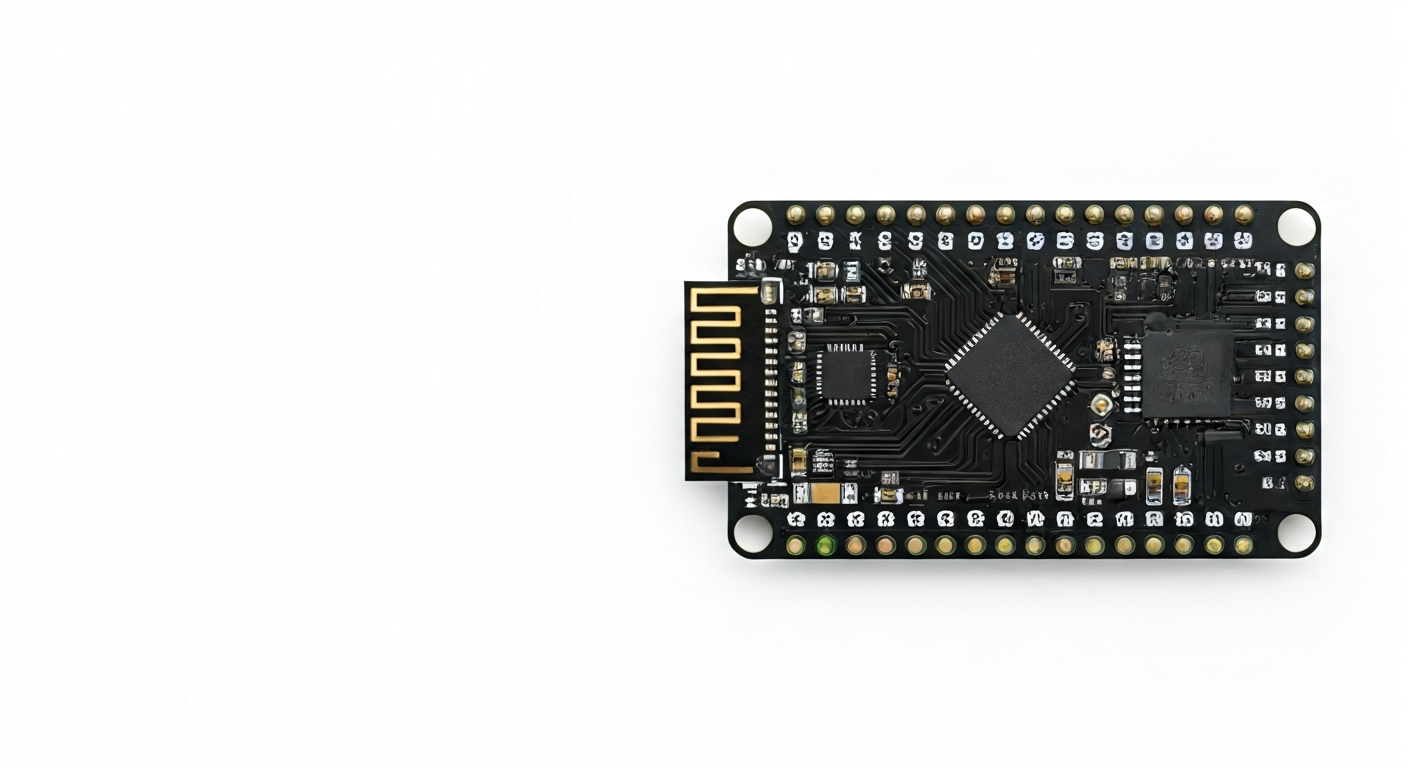
The Arduino Nano ESP32 is a compact development board that integrates the popular Arduino Nano form factor with the advanced capabilities of Espressif's ESP32-S3 System-on-Chip (SoC). This fusion brings together the ease of use and vast ecosystem of the Arduino platform with the high-performance, connectivity-rich features of the ESP32-S3, making it an ideal choice for makers, students, and engineers looking to build connected projects without compromising on size or power.
At its heart lies the Espressif ESP32-S3, a dual-core Tensilica LX7 microprocessor running at up to 240 MHz. This SoC is equipped with built-in Wi-Fi 802.11 b/n/g and Bluetooth 5 (LE) connectivity, along with a rich set of peripherals including multiple ADCs, DACs, I2C, SPI, UART interfaces, and a dedicated hardware for AI acceleration. The Nano ESP32 variant typically includes 8MB of PSRAM for expanded memory and 16MB of Flash memory for program storage, providing ample resources for complex applications.
Positioned as an evolution of the classic Arduino Nano, the Nano ESP32 maintains the familiar small footprint, making it suitable for space-constrained applications like wearables, small robots, or smart home devices. It aims to simplify the development of IoT projects by offering a single-board solution that combines processing power, memory, and wireless communication, all programmable through the familiar Arduino IDE or other popular development environments. This board is particularly well-suited for those transitioning from simpler microcontrollers to more advanced, connected systems.
The release of the Arduino Nano ESP32 around 2023 signifies Arduino's continued commitment to integrating cutting-edge wireless technology into its accessible hardware line. It empowers makers to create sophisticated projects that can interact with the internet, local networks, or other Bluetooth-enabled devices, opening up a new realm of possibilities for the Arduino ecosystem. Its robust feature set and compact size make it a compelling option for both hobbyist experimentation and professional prototyping.
Watch
Related video, embedded from YouTube.
Specifications
| Microcontroller / SoC | Espressif ESP32-S3-MINI-1 |
| Architecture | Dual-core Tensilica LX7 @ up to 240 MHz |
| Clock speed | Up to 240 MHz |
| Flash / Storage | 16MB internal Flash |
| RAM / SRAM | 512KB SRAM + 8MB external PSRAM |
| Operating voltage | 3.3V |
| Digital I/O pins | 22 (shared with other functions) |
| Analog / ADC | 14 x 12-bit ADCs (shared) |
| PWM | Up to 15 channels (shared) |
| Connectivity | Wi-Fi 802.11 b/n/g (2.4 GHz), Bluetooth 5 (LE) |
| USB | USB-C (for power, programming, and serial communication) |
| Power input | 5V via USB-C or VIN pin (on-board 3.3V regulator) |
| Dimensions | 48mm x 18mm |
Pinout & pin functions
| Pin | Function |
|---|---|
| 3V3 | 3.3V Power Output |
| GND | Ground |
| VIN | Input Voltage (5V recommended when not using USB) |
| D0 (RX) | UART0 RX (Serial Input) |
| D1 (TX) | UART0 TX (Serial Output) |
| D2 | General Purpose I/O |
| D3 | General Purpose I/O |
| D4 | General Purpose I/O |
| D5 | General Purpose I/O, PWM |
| D6 | General Purpose I/O, PWM |
| D7 | General Purpose I/O |
| D8 | General Purpose I/O |
| D9 | General Purpose I/O, PWM |
| D10 | General Purpose I/O, SPI MOSI |
| D11 | General Purpose I/O, SPI SCK |
| D12 | General Purpose I/O, SPI MISO |
| D13 | General Purpose I/O, SPI CS |
| D14 | General Purpose I/O, I2C SDA |
| D15 | General Purpose I/O, I2C SCL |
| D16 | General Purpose I/O |
| D17 | General Purpose I/O |
| D18 | General Purpose I/O, ADC1_CH0 |
| D19 | General Purpose I/O, ADC1_CH1 |
| D20 | General Purpose I/O, ADC1_CH2 |
| D21 | General Purpose I/O, ADC1_CH3 |
| D22 | General Purpose I/O, ADC1_CH4 |
| D23 | General Purpose I/O, ADC1_CH5 |
| D24 | General Purpose I/O, ADC1_CH6 |
| D25 | General Purpose I/O, ADC1_CH7 |
| D26 | General Purpose I/O, ADC1_CH8 |
| D27 | General Purpose I/O, ADC1_CH9 |
| D28 | General Purpose I/O, ADC1_CH10 |
| D29 | General Purpose I/O, ADC1_CH11 |
| D30 | General Purpose I/O, ADC1_CH12 |
| D31 | General Purpose I/O, ADC1_CH13 |
| D32 | General Purpose I/O, ADC1_CH14 |
| D33 | General Purpose I/O, ADC1_CH15 |
| D34 | General Purpose I/O, ADC2_CH0 |
| D35 | General Purpose I/O, ADC2_CH1 |
| D36 | General Purpose I/O, ADC2_CH2 |
| D37 | General Purpose I/O, ADC2_CH3 |
| D38 | General Purpose I/O, ADC2_CH4 |
| D39 | General Purpose I/O, ADC2_CH5 |
| D40 | General Purpose I/O, ADC2_CH6 |
| D41 | General Purpose I/O, ADC2_CH7 |
| D42 | General Purpose I/O, ADC2_CH8 |
| D43 | General Purpose I/O, ADC2_CH9 |
| D44 | General Purpose I/O, ADC2_CH10 |
| D45 | General Purpose I/O, ADC2_CH11 |
| D46 | General Purpose I/O, ADC2_CH12 |
| D47 | General Purpose I/O, ADC2_CH13 |
| D48 | General Purpose I/O, ADC2_CH14 |
| D49 | General Purpose I/O, ADC2_CH15 |
| D50 | General Purpose I/O |
| D51 | General Purpose I/O |
| D52 | General Purpose I/O |
| D53 | General Purpose I/O |
| EN | Reset Pin (Active Low) |
| BOOT | Boot Mode Pin (Active Low) |
Wiring & circuit basics
Powering the Arduino Nano ESP32 is straightforward. You can power it via the USB-C port, which typically supplies 5V. Alternatively, the VIN pin can accept a voltage from 5V up to a recommended maximum of 7V (check board specifications for exact limits), with an on-board 3.3V regulator handling the voltage conversion for the ESP32-S3 SoC and its peripherals. Always ensure your power supply can provide sufficient current, especially when using Wi-Fi or Bluetooth, as these can draw significant power. Avoid powering the board directly with voltages higher than 3.3V on any GPIO pin, as the ESP32-S3 operates at 3.3V logic levels.
When connecting external components, it's crucial to respect the 3.3V logic level of the Nano ESP32. Connecting 5V devices directly to its GPIO pins can cause permanent damage. For components that operate at 5V, such as many common LEDs, relays, or sensors, you will need a logic level shifter or a voltage divider circuit to safely interface them with the Nano ESP32's 3.3V digital pins. Conversely, if you are connecting a 3.3V sensor to a microcontroller that uses 5V logic, you would typically need a level shifter to boost the signal to 5V.
A simple example is lighting an LED: connect the anode (longer leg) of an LED to a digital pin like D5 (which also supports PWM) through a current-limiting resistor (typically 220-330 ohms for standard LEDs with 3.3V). Connect the cathode (shorter leg) of the LED to a GND pin. For an I2C sensor, connect its SDA pin to D14 (SDA) and its SCL pin to D15 (SCL). Ensure the sensor is also powered by the board's 3.3V pin and shares a common GND connection with the Nano ESP32. Remember to include pull-up resistors on the SDA and SCL lines if your sensor does not have them built-in.
Programming & getting started
The Arduino Nano ESP32 is well-supported by the Arduino IDE. After installing the ESP32 board definitions in the IDE (via the Board Manager), you can select the 'Arduino Nano ESP32' from the board list. The ESP32-S3 also supports MicroPython and CircuitPython, offering alternative programming environments that are often favored for rapid prototyping and ease of use. For more advanced embedded development, the Espressif IoT Development Framework (ESP-IDF) and PlatformIO are also viable options, providing more control and features.
To upload your first sketch using the Arduino IDE: connect the Nano ESP32 to your computer via USB-C. In the IDE, select the correct board and COM port. Write a simple sketch, such as the 'Blink' example, modifying the pin number to match an LED connected to one of the board's digital pins. Click the 'Upload' button. The board will typically enter programming mode automatically, or you may need to press and hold the BOOT button while pressing and releasing the RESET button, then release BOOT when the upload begins.