Arduino Nano Every: The Mighty Microcontroller for Makers
A compact and powerful Arduino board featuring the SAM D21 microcontroller, offering enhanced performance and more memory in a familiar Nano form factor.
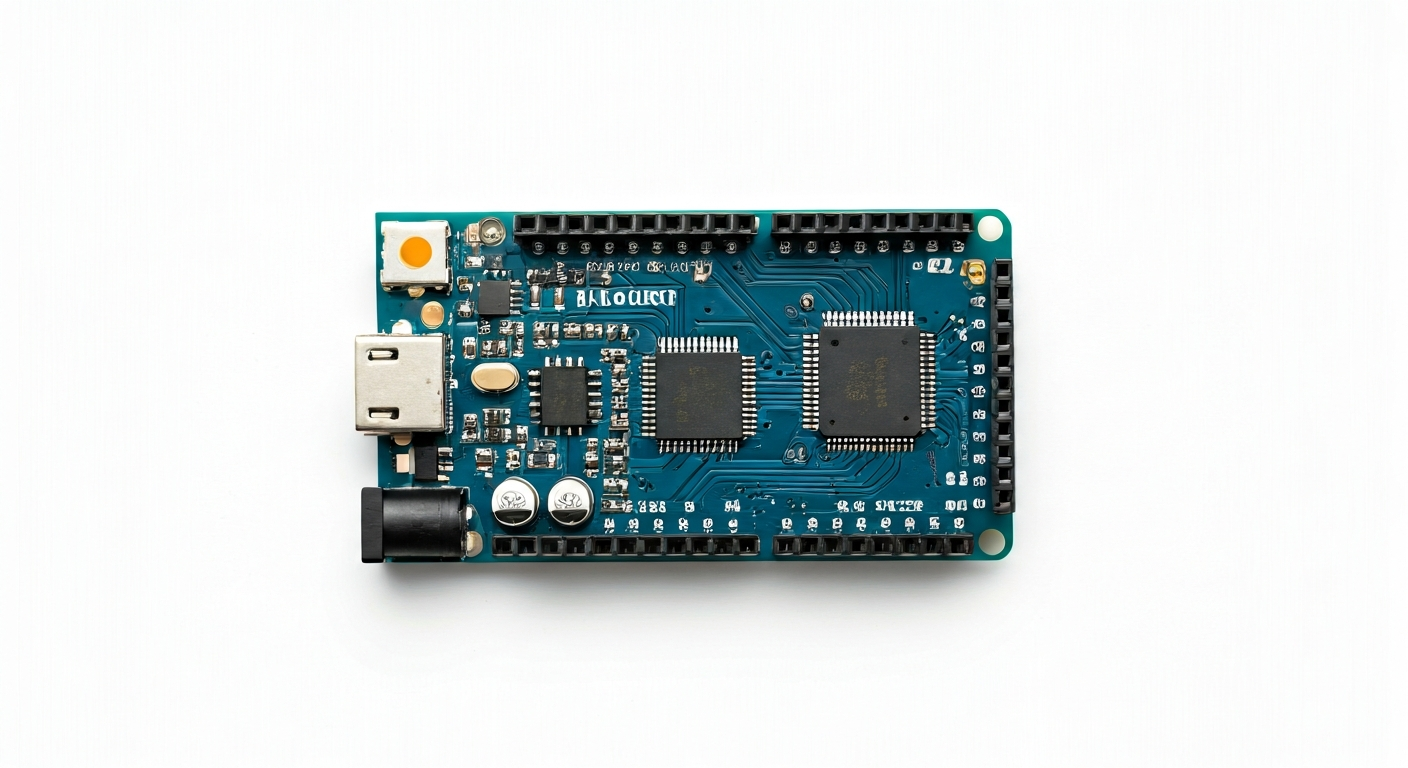
The Arduino Nano Every is a compact microcontroller board designed for makers, students, and embedded engineers seeking a balance of performance, size, and cost. It represents an evolution from the classic Arduino Nano, stepping up to a more powerful 32-bit ARM Cortex-M0+ processor. This upgrade brings significant improvements in processing speed, memory capacity, and peripheral capabilities, making it suitable for more complex projects that were previously challenging on 8-bit Arduinos.
At the heart of the Nano Every is the Microchip ATmega4809 microcontroller. This 32-bit AVR processor operates at a higher clock speed than its predecessors and boasts more flash memory for program storage and SRAM for data. It features a rich set of peripherals, including multiple timers, ADCs, and communication interfaces like I2C, SPI, and UART, all accessible through its well-defined pinout. This makes it a versatile choice for a wide range of applications, from simple sensor reading to more advanced control systems.
Positioned as a successor to the beloved Arduino Nano, the Nano Every maintains the same small footprint, making it ideal for projects where space is limited, such as wearables, small robots, or embedded control modules. It bridges the gap between entry-level 8-bit boards like the Arduino Uno and more advanced 32-bit boards like the Arduino MKR series, offering a compelling upgrade path for existing Arduino users and a capable platform for newcomers. Its release around 2019 aimed to provide a modern, yet accessible, microcontroller solution.
The Arduino Nano Every is particularly well-suited for makers who have outgrown the limitations of 8-bit microcontrollers but still desire the ease of use and extensive community support of the Arduino ecosystem. It's a great choice for projects involving real-time data processing, more sophisticated communication protocols, or applications requiring a larger program memory. Students learning embedded systems will find its capabilities and familiar programming environment invaluable for tackling more challenging coursework and personal projects.
Watch
Related video, embedded from YouTube.
Specifications
| Microcontroller / SoC | Microchip ATmega4809 |
| Architecture | 32-bit AVR (ARM Cortex-M0+ based) |
| Clock speed | 20 MHz |
| Flash / Storage | 48 KB |
| RAM / SRAM | 6 KB |
| Operating voltage | 3.3V |
| Digital I/O pins | 14 |
| Analog / ADC | 7 (10-bit) |
| PWM | 5 (on specific digital pins) |
| Connectivity | I2C, SPI, UART |
| USB | Micro-USB (for programming and power) |
| Power input | 5V via USB or VIN pin (7-12V recommended range, regulated down to 5V) |
| Dimensions | 48mm x 18mm |
Pinout & pin functions
| Pin | Function |
|---|---|
| GND | Ground |
| 3.3V | 3.3V power output |
| 5V | 5V power output (from USB or VIN, requires VIN > 7V) |
| A0 | Analog Input / Digital I/O |
| A1 | Analog Input / Digital I/O |
| A2 | Analog Input / Digital I/O |
| A3 | Analog Input / Digital I/O |
| A4 | Analog Input / Digital I/O, I2C SDA |
| A5 | Analog Input / Digital I/O, I2C SCL |
| D0 / RX | Digital I/O, UART Receive |
| D1 / TX | Digital I/O, UART Transmit |
| D2 | Digital I/O |
| D3 | Digital I/O, PWM |
| D4 | Digital I/O |
| D5 | Digital I/O, PWM |
| D6 | Digital I/O, PWM |
| D7 | Digital I/O |
| D8 | Digital I/O |
| D9 | Digital I/O, PWM |
| D10 | Digital I/O, SPI MOSI |
| D11 | Digital I/O, SPI MISO, PWM |
| D12 | Digital I/O, SPI SCK |
| D13 | Digital I/O, SPI CS (default) |
| RESET | Reset pin |
| VIN | Voltage Input (7-12V recommended) |
| GND | Ground |
Wiring & circuit basics
Powering the Arduino Nano Every can be done via its micro-USB port, which provides a stable 5V supply. Alternatively, you can use the VIN pin, which accepts a voltage range of 7-12V. An onboard voltage regulator will step this down to the 5V required by the board. It's crucial to avoid exceeding the recommended voltage range on VIN, as this can damage the regulator or the board. The Nano Every operates at a logic level of 3.3V, which is important to remember when interfacing with external components. Connecting 5V components directly to 3.3V logic pins can cause damage.
When connecting components, always ensure their voltage requirements match the Nano Every's operating voltage. For example, to connect an LED, you would typically use a digital I/O pin (like D7), connect it through a current-limiting resistor (e.g., 220-330 ohms), and then to the LED's anode. The LED's cathode would connect to a GND pin. This setup prevents excessive current from flowing through the LED and the microcontroller pin.
For sensors or modules that communicate via I2C, the Nano Every uses pins A4 (SDA) and A5 (SCL). These pins also function as standard digital I/O. When wiring an I2C sensor, connect its VCC to the Nano Every's 3.3V pin, its GND to a GND pin, its SDA to A4, and its SCL to A5. Ensure the sensor is also a 3.3V compatible device or uses a logic level shifter if it operates at 5V.
Programming & getting started
The primary toolchain for programming the Arduino Nano Every is the Arduino IDE. After installing the IDE, you'll need to add support for the ATmega4809 microcontroller. This is typically done by installing the 'Arduino AVR Boards' package via the Boards Manager, which includes support for the newer AVR chips. Once the correct board is selected in the IDE (usually found under 'Arduino AVR Boards' -> 'Arduino Nano Every'), you can write code using the familiar Arduino language (C/C++ based) and upload it to the board via the micro-USB connection.
To upload your first program, connect the Nano Every to your computer using a micro-USB cable. Open the Arduino IDE, select the correct board and COM port, and then upload a simple sketch, such as the 'Blink' example. Modify the pin number in the sketch to match an onboard LED (often connected to D13, though check your specific board) and observe it blinking. For more advanced development, platforms like PlatformIO offer a more robust development environment with better library management and debugging capabilities.