Arduino Uno R4 Minima: The Classic Reimagined for Modern Makers
The iconic Arduino Uno evolves with a powerful 32-bit Renesas RA4M1 microcontroller, bringing enhanced performance and modern connectivity to the familiar form factor.
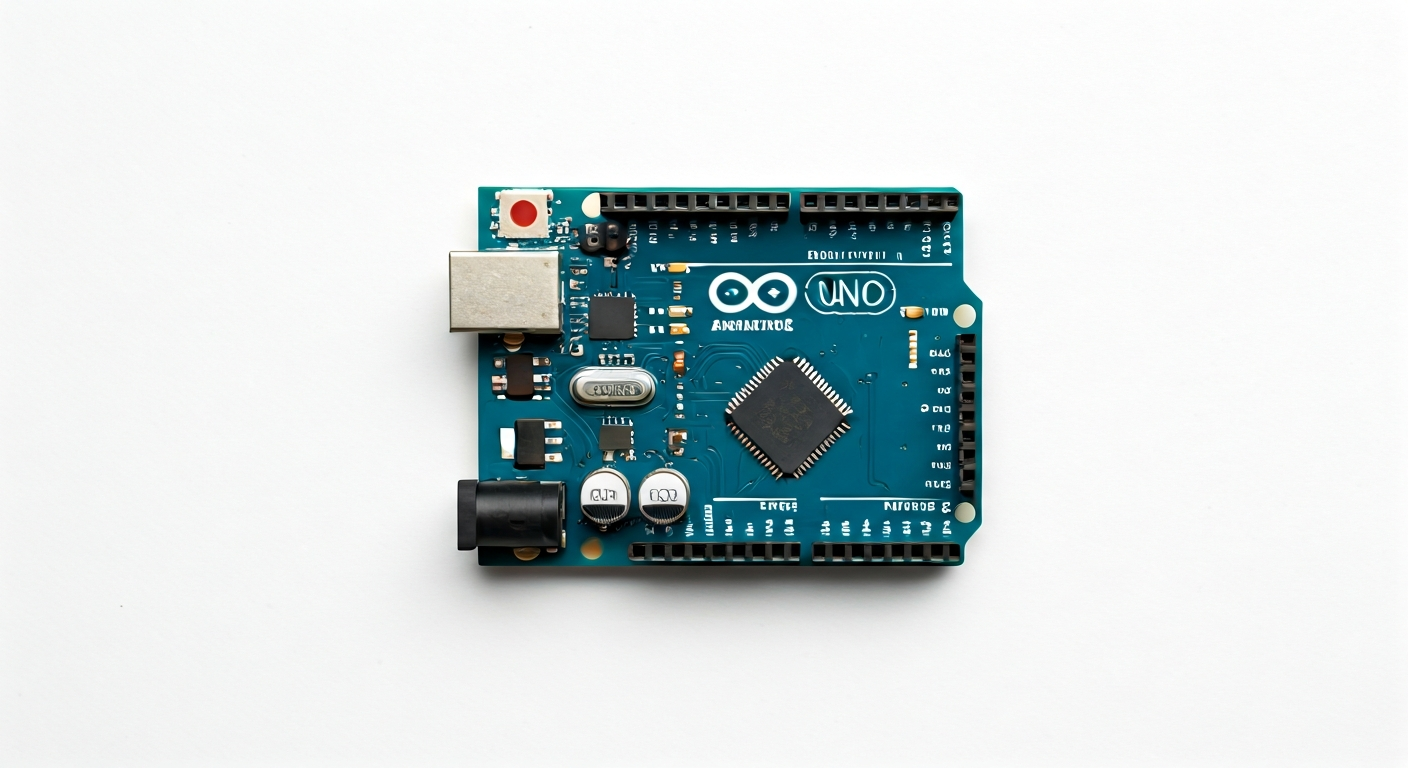
The Arduino Uno R4 Minima represents a significant leap forward for the most popular microcontroller board in the Arduino ecosystem. Building on the legacy of the Uno R3, this new iteration replaces the venerable 8-bit ATmega328P with a modern 32-bit ARM Cortex-M4 based Renesas RA4M1 (R7FA4M1AB3CFM). This upgrade brings substantial improvements in processing power, memory, and peripherals, making it suitable for more complex projects while maintaining the ease of use that has defined the Uno.
At the heart of the Uno R4 Minima is the Renesas RA4M1, a microcontroller that boasts a 48 MHz clock speed, significantly faster than its predecessor. It features 256 KB of Flash memory for program storage and 32 KB of SRAM for data, offering ample space for sophisticated applications. The RA4M1 also includes built-in analog-to-digital converters (ADCs), digital-to-analog converters (DACs), and support for standard communication protocols like I2C, SPI, and UART, all within a compact and power-efficient package.
Positioned as the entry-level board in the R4 series, the Uno R4 Minima is designed to be accessible to beginners while offering advanced capabilities for experienced makers and engineers. It retains the standard Uno form factor and pinout, ensuring compatibility with existing shields and accessories. This makes it an ideal choice for students learning embedded programming, hobbyists looking to upgrade their projects, and professionals prototyping new ideas that require more computational power than the classic Uno could provide.
Watch
Related video, embedded from YouTube.
Specifications
| Microcontroller / SoC | Renesas RA4M1 (R7FA4M1AB3CFM) |
| Architecture | 32-bit ARM Cortex-M4 |
| Clock speed | 48 MHz |
| Flash / Storage | 256 KB |
| RAM / SRAM | 32 KB |
| Operating voltage | 5V |
| Digital I/O pins | 14 (6 with PWM) |
| Analog / ADC | 6 (12-bit resolution) |
| PWM | 6 pins (Timer output channels) |
| Connectivity | I2C, SPI, UART |
| USB | USB-C (for programming and power) |
| Power input | 5V via USB-C or VIN pin (7-12V recommended) |
| Dimensions | 68.6 mm x 53.3 mm |
Pinout & pin functions
| Pin | Function |
|---|---|
| GND | Ground pin |
| 3V3 | 3.3V power output |
| 5V | 5V power output |
| VIN | Input voltage (7-12V recommended) |
| RESET | System reset pin |
| 0 (RX) | Serial communication receive pin (UART0) |
| 1 (TX) | Serial communication transmit pin (UART0) |
| 2 | Digital I/O pin |
| 3 | Digital I/O pin (PWM) |
| 4 | Digital I/O pin |
| 5 | Digital I/O pin (PWM) |
| 6 | Digital I/O pin (PWM) |
| 7 | Digital I/O pin |
| 8 | Digital I/O pin |
| 9 | Digital I/O pin (PWM) |
| 10 | Digital I/O pin (PWM, SPI SS) |
| 11 | Digital I/O pin (PWM, SPI MOSI) |
| 12 | Digital I/O pin (SPI MISO) |
| 13 | Digital I/O pin (SPI SCK, LED_BUILTIN) |
| A0 | Analog input pin (ADC0) |
| A1 | Analog input pin (ADC1) |
| A2 | Analog input pin (ADC2) |
| A3 | Analog input pin (ADC3) |
| A4 | Analog input pin (ADC4), I2C SDA |
| A5 | Analog input pin (ADC5), I2C SCL |
| AREF | Analog Reference voltage |
| SCK | SPI Clock pin (also pin 13) |
| MISO | SPI Master In Slave Out pin (also pin 12) |
| MOSI | SPI Master Out Slave In pin (also pin 11) |
| SS | SPI Slave Select pin (also pin 10) |
| SDA | I2C Data pin (also pin A4) |
| SCL | I2C Clock pin (also pin A5) |
| TX | UART Transmit pin (also pin 1) |
| RX | UART Receive pin (also pin 0) |
Wiring & circuit basics
Powering the Arduino Uno R4 Minima is straightforward. The board can be powered via the USB-C port, which is ideal for programming and low-power applications, typically supplying 5V. For higher power requirements or standalone operation, the VIN pin can accept a voltage between 7V and 12V. The board features an onboard voltage regulator that steps this down to the 5V required by the microcontroller and peripherals. Avoid connecting power sources exceeding 12V to VIN, as this can damage the regulator. Ensure your power supply can provide sufficient current, especially when driving multiple components or motors; a supply capable of at least 1A is recommended for most projects.
The Arduino Uno R4 Minima operates at a 5V logic level, meaning digital HIGH signals are represented by 5V and LOW by 0V. This is a key difference from many newer boards that use 3.3V logic. When interfacing with components that operate at 3.3V, such as many modern sensors or displays, it is crucial to use level shifters. Connecting a 3.3V device directly to a 5V output pin can damage the device. Conversely, a 5V signal from the Uno might not be reliably recognized as HIGH by a 3.3V input pin, though many 3.3V devices are 5V tolerant on their input pins. Always consult the datasheets of your external components.
A simple example is connecting an LED. Connect the longer leg (anode) of an LED to a digital pin, for instance, pin 13 (which also has the built-in LED). Connect the shorter leg (cathode) to one end of a resistor. The other end of the resistor connects to a GND pin. The resistor value should be chosen to limit the current to a safe level for the LED and the Arduino pin (typically 20mA). A common value is 220 ohms to 330 ohms for a standard LED when powered by 5V. This circuit prevents excessive current from flowing through the LED and the Arduino pin, protecting both.
Programming & getting started
The primary toolchain for the Arduino Uno R4 Minima is the Arduino IDE, available for Windows, macOS, and Linux. After installing the IDE, you will need to add support for the R4 boards via the Board Manager. Navigate to Tools > Board > Boards Manager, search for 'Arduino AVR Boards' and 'Arduino UNO R4 boards', and install the relevant package. Once installed, select 'Arduino Uno R4 Minima' from the Tools > Board menu. Connect the board via USB-C, choose the correct COM port, and upload your first sketch, such as the classic 'Blink' example, to verify the setup.
For more advanced development, the Uno R4 Minima is also compatible with PlatformIO, an open-source ecosystem for IoT development. PlatformIO offers a more robust development environment, better library management, and support for various frameworks. Additionally, while not officially supported out-of-the-box by Arduino like some other R4 boards, the Renesas RA4M1 microcontroller is capable of running MicroPython or CircuitPython with community-developed ports, providing an alternative Python-based programming experience for rapid prototyping.