Raspberry Pi Zero: The Tiny Powerhouse for Embedded Projects
Discover the compact and affordable Raspberry Pi Zero, a versatile single-board computer perfect for space-constrained and cost-sensitive embedded projects.
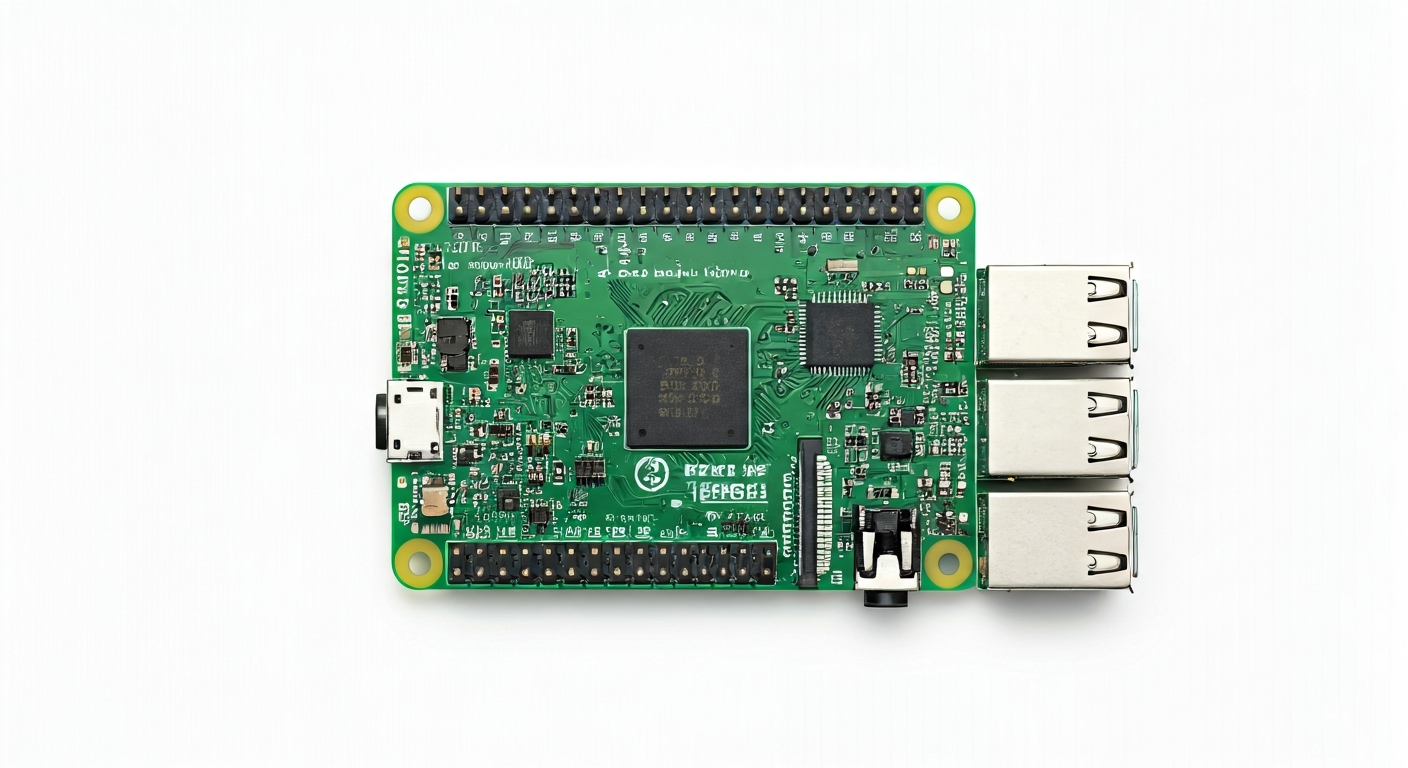
The Raspberry Pi Zero, released in late 2015, is a stripped-down, ultra-low-cost iteration of the popular Raspberry Pi family. Designed to be significantly smaller and more affordable than its predecessors, it retains much of the core functionality expected from a Raspberry Pi, making it an ideal candidate for embedded applications where size, power consumption, and budget are critical factors. Its diminutive form factor belies its capability, offering a full Linux computer experience in a package that can fit almost anywhere.
At the heart of the Raspberry Pi Zero lies the Broadcom BCM2835 system-on-a-chip (SoC). This is the same chip found in the original Raspberry Pi Model B and Model B+, but clocked at a slightly lower frequency. It features a single-core 32-bit ARMv6 architecture processor. While not a powerhouse by modern standards, this SoC is perfectly capable of running lightweight Linux distributions and handling a wide array of embedded tasks, from simple sensor monitoring to controlling small robotics and creating custom IoT devices.
The Raspberry Pi Zero occupies a unique niche within the Raspberry Pi ecosystem. It is significantly smaller and less powerful than models like the Raspberry Pi 3 or 4, but it offers a more robust computing platform than many microcontrollers. This makes it an excellent choice for makers and students who need the flexibility of a full operating system and networking capabilities but are working within tight physical or financial constraints. Its GPIO header, while smaller, still provides access to a rich set of peripherals for interfacing with external hardware.
This board is particularly suited for projects that require a small footprint, such as wearable technology, portable data loggers, compact home automation controllers, or even as a secondary processing unit within a larger system. Its low power consumption also makes it suitable for battery-powered applications. For users new to embedded Linux or those looking for a cost-effective way to add intelligence to everyday objects, the Raspberry Pi Zero is an accessible and powerful entry point.
Watch
Related video, embedded from YouTube.
Specifications
| Microcontroller / SoC | Broadcom BCM2835 |
| Architecture | 32-bit ARMv6 (Single-core) |
| Clock speed | 1 GHz |
| Flash / Storage | MicroSD card slot (up to 32GB typically supported) |
| RAM / SRAM | 512MB LPDDR2 SDRAM |
| Operating voltage | 3.3V |
| Digital I/O pins | 17 GPIO pins |
| Analog / ADC | — |
| PWM | Yes (software-controlled) |
| Connectivity | 802.11b/g/n Wi-Fi, Bluetooth 4.1 |
| USB | 1x Micro USB OTG port (for data), 1x Micro USB power port |
| Power input | 5V via Micro USB (minimum 1.2A recommended) |
| Dimensions | 65mm x 31mm x 5mm (PCB only) |
Pinout & pin functions
| Pin | Function |
|---|---|
| 3V3 | 3.3V Power Output |
| GND | Ground |
| GPIO2 | I2C SDA |
| GPIO3 | I2C SCL |
| GPIO4 | General Purpose I/O |
| GPIO17 | General Purpose I/O |
| GPIO27 | General Purpose I/O |
| GPIO22 | General Purpose I/O |
| GPIO5 | General Purpose I/O |
| GPIO6 | General Purpose I/O |
| GPIO12 | General Purpose I/O |
| GPIO13 | General Purpose I/O |
| GPIO19 | General Purpose I/O |
| GPIO16 | General Purpose I/O |
| GPIO26 | General Purpose I/O |
| GPIO7 | SPI MOSI |
| GPIO8 | SPI MISO |
| GPIO11 | SPI SCK |
| GPIO9 | SPI CS (Chip Select) |
| GPIO10 | General Purpose I/O (also SPI CS) |
| GPIO24 | General Purpose I/O |
| GPIO25 | General Purpose I/O |
| GPIO23 | General Purpose I/O |
| GPIO18 | General Purpose I/O |
| GPIO14 | UART TXD |
| GPIO15 | UART RXD |
| RUN | System Reset (active low) |
| ID_SD | I2C EEPROM Data |
| ID_SC | I2C EEPROM Clock |
| TEST_MODE | Test Mode (usually not used) |
| FP_TEST_MODE | FPGA Test Mode (usually not used) |
| NC | No Connect |
Wiring & circuit basics
Powering the Raspberry Pi Zero requires a stable 5V supply, typically provided through its Micro USB power port. A minimum of 1.2A is recommended, especially when connecting peripherals. The board itself operates at 3.3V logic levels. Connecting 5V devices directly to GPIO pins can damage the Pi Zero. Always use a level shifter or a voltage divider when interfacing with 5V components. For example, to safely light an LED, connect the anode to a GPIO pin (e.g., GPIO17), the cathode to a current-limiting resistor (e.g., 220-330 ohms), and the other end of the resistor to a GND pin.
When connecting sensors or other devices, pay close attention to their operating voltage and logic level requirements. For I2C communication, you'll need to connect the sensor's SDA pin to the Pi Zero's GPIO2 (I2C SDA) and its SCL pin to GPIO3 (I2C SCL). Both the Pi Zero and the sensor should be connected to a common ground (GND pin). Many I2C sensors also require a 3.3V power supply, which can be provided by the Pi Zero's 3V3 pin. Always consult the sensor's datasheet for specific wiring instructions and voltage compatibility.
The Raspberry Pi Zero has a standard 40-pin header layout, but only 17 pins are exposed as General Purpose Input/Output (GPIO). These pins can be configured as inputs or outputs for digital signals. Some pins have alternative functions, such as I2C, SPI, and UART communication protocols, which are crucial for interfacing with a wide range of sensors, displays, and other modules. The RUN pin can be used to reset the system, and the ID_SD/ID_SC pins are typically used for accessing an onboard EEPROM, though this is rarely utilized in typical maker projects.
Programming & getting started
The Raspberry Pi Zero runs a full Linux operating system, most commonly Raspberry Pi OS (formerly Raspbian). This opens up a vast array of programming options. For embedded-style programming, Python with libraries like RPi.GPIO or gpiozero is extremely popular and beginner-friendly. You can also use MicroPython or CircuitPython for a more microcontroller-like experience, though these require flashing custom firmware. For more advanced users, C/C++ with the WiringPi library (though deprecated, it's still widely used) or direct system calls offers maximum performance and control.
To get started, you'll need to flash a suitable OS image (like Raspberry Pi OS Lite) onto a MicroSD card using a tool like Raspberry Pi Imager or Balena Etcher. Once booted, you can connect via SSH over Wi-Fi or a USB-to-Ethernet adapter. For Python scripting, simply write your code in a text editor on the Pi Zero and run it from the command line. For example, a simple 'blink' script would involve importing the GPIO library, setting a pin as an output, and toggling it in a loop with delays.