Wemos D1 Mini: Your Tiny ESP8266 Powerhouse for IoT Projects
A compact and affordable development board based on the ESP8266 Wi-Fi SoC, perfect for hobbyists and rapid prototyping.
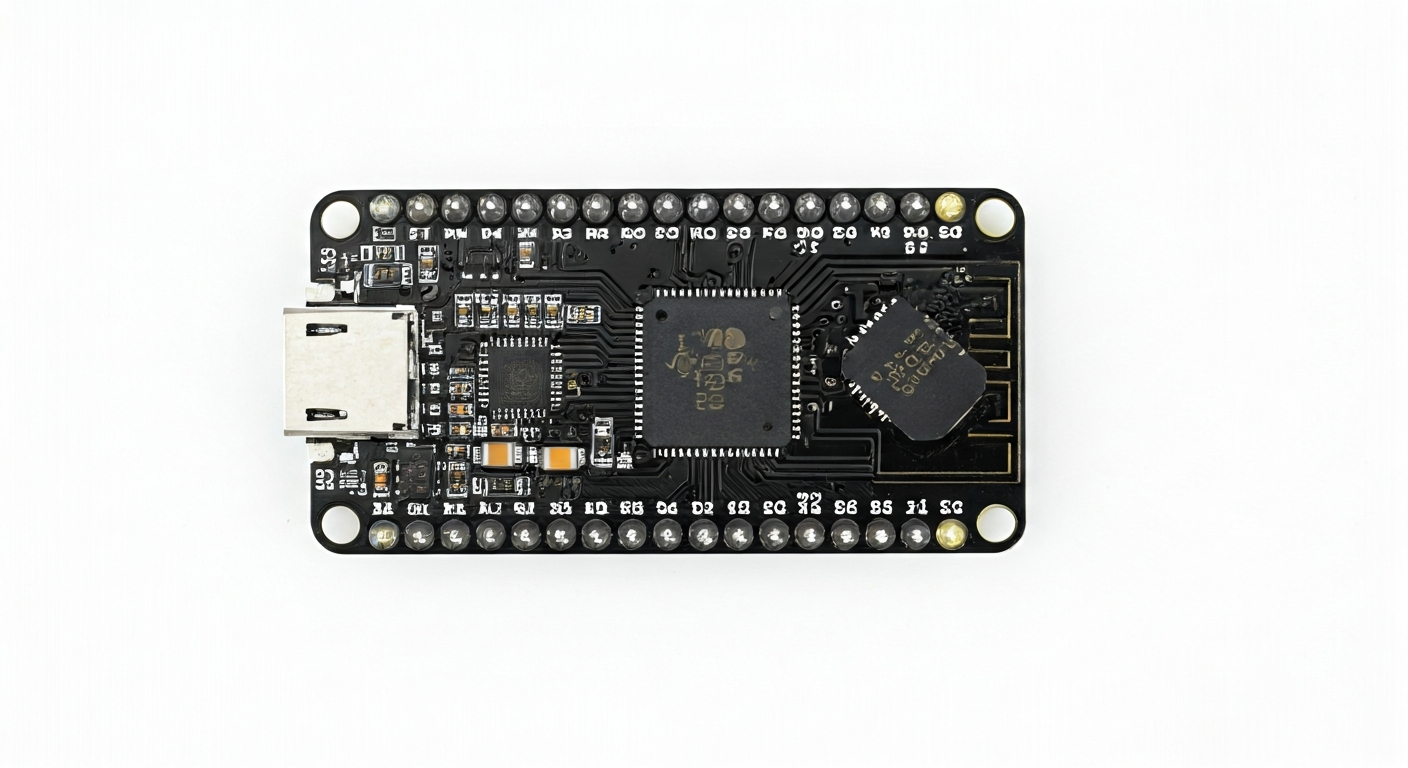
The Wemos D1 Mini is a popular and incredibly cost-effective microcontroller development board that leverages the power of the Espressif ESP8266 System-on-Chip (SoC). Released around 2016, it quickly became a favorite among makers, students, and embedded engineers for its small form factor, integrated Wi-Fi capabilities, and ease of use, especially within the Arduino ecosystem. Its design prioritizes accessibility, making it an excellent entry point into the world of connected devices without a steep learning curve or significant financial investment.
At its heart, the Wemos D1 Mini features the ESP8266EX chip, a highly integrated Wi-Fi microcontroller. This chip combines a Tensilica L106 Diamond 32-bit micro-controller core with a full TCP/IP stack and 802.11 b/g/n Wi-Fi connectivity. This means that a single, small chip can handle both the processing for your project logic and the network communication, eliminating the need for a separate Wi-Fi module. The ESP8266 was a groundbreaking chip when it first appeared, offering Wi-Fi connectivity at a price point previously unheard of for hobbyist projects.
While not part of the newer ESP32 family (which features dual cores, Bluetooth, and more peripherals), the Wemos D1 Mini, based on the ESP8266, remains highly relevant for projects where Wi-Fi connectivity is the primary requirement and advanced features like Bluetooth or dual-core processing are not essential. Its widespread adoption has led to a vast community, extensive libraries, and abundant tutorials, making troubleshooting and development significantly easier. It's ideal for makers who want to build simple IoT sensors, web servers, or remote control applications.
The board itself is designed for breadboard compatibility, with header pins extending from its sides. It includes a micro-USB port for easy programming and power, and a voltage regulator to allow for a wider input voltage range. This thoughtful design makes it incredibly convenient for prototyping and integrating into various projects. Its small size means it can fit into tight spaces, making it suitable for embedded applications where physical footprint is a concern.
Watch
Related video, embedded from YouTube.
Specifications
| Microcontroller / SoC | Espressif ESP8266EX |
| Architecture | 32-bit Tensilica L106 Diamond |
| Clock speed | Typically 80 MHz (can be overclocked to 160 MHz) |
| Flash / Storage | 4 MB (typically, varies by module) |
| RAM / SRAM | 32 KB internal SRAM (plus 64 KB for instruction and 96 KB for data) |
| Operating voltage | 3.3V |
| Digital I/O pins | 11 (most can be reconfigured) |
| Analog / ADC | 1 (10-bit ADC, shared with GPIO6-GPIO11) |
| PWM | Up to 4 channels (software PWM) |
| Connectivity | Wi-Fi 802.11 b/g/n (2.4 GHz) |
| USB | Micro-USB connector for programming and power |
| Power input | 5V via Micro-USB or VIN pin (regulated to 3.3V) |
| Dimensions | 25.5 mm x 19.2 mm |
Pinout & pin functions
| Pin | Function |
|---|---|
| 3V3 | 3.3V Power Output |
| GND | Ground |
| D0 | GPIO1 (UART TX, can be used as digital I/O) |
| D1 | GPIO5 (I2C CLK, can be used as digital I/O) |
| D2 | GPIO4 (I2C SDA, can be used as digital I/O) |
| D3 | GPIO0 (Boot mode selection, can be used as digital I/O) |
| D4 | GPIO2 (Built-in LED, can be used as digital I/O) |
| D5 | GPIO14 (SPI CLK, can be used as digital I/O) |
| D6 | GPIO12 (SPI MISO, can be used as digital I/O) |
| D7 | GPIO13 (SPI MOSI, can be used as digital I/O) |
| D8 | GPIO15 (SPI CS, can be used as digital I/O) |
| RX | GPIO3 (UART RX, can be used as digital I/O) |
| TX | GPIO1 (UART TX, can be used as digital I/O) |
| A0 | Analog Input (ADC0, 0-3.3V) |
| RST | Reset Pin (Active Low) |
| VIN | 5V Power Input (connects to onboard regulator) |
Wiring & circuit basics
The Wemos D1 Mini operates at a logic level of 3.3V. It is crucial to use 3.3V-compatible components or level shifters when interfacing with 5V devices to prevent damage to the microcontroller. Powering the board can be done via the micro-USB port or the VIN pin, which accepts a voltage typically between 5V and 12V. The onboard AMS1117-3.3 voltage regulator will step this down to the required 3.3V for the ESP8266 chip and its peripherals. Ensure your power supply can provide at least 500mA, especially when the Wi-Fi is active, to avoid brownouts and unstable operation.
When connecting external components, always connect them to the appropriate GPIO pins. For example, to blink an LED, connect the anode (longer leg) of an LED to a digital output pin (like D4/GPIO2) and the cathode (shorter leg) to a current-limiting resistor (typically 220-330 ohms). The other end of the resistor connects to a GND pin. This setup ensures that the LED receives the correct voltage and current, preventing it from burning out or overloading the GPIO pin.
For I2C communication, the Wemos D1 Mini uses GPIO4 (D2) for SDA and GPIO5 (D1) for SCL. These pins are also connected to onboard pull-up resistors on many Wemos D1 Mini boards, but it's good practice to add external pull-up resistors (e.g., 4.7k ohm) to the SDA and SCL lines connected to 3.3V, especially if you are using multiple I2C devices or long wires. Always consult the datasheet of your sensor or device to confirm its operating voltage and communication protocol.
Programming & getting started
The Wemos D1 Mini is most commonly programmed using the Arduino IDE. To get started, you'll need to add the ESP8266 board support to your Arduino IDE. Go to File > Preferences, and in the 'Additional Boards Manager URLs' field, add 'http://arduino.esp8266.com/stable/package_esp8266com_index.json'. Then, go to Tools > Board > Boards Manager, search for 'esp8266', and install the package. Select the 'LOLIN(WEMOS) D1 R2 & mini' board from the Tools > Board menu and the correct COM port.
Once the environment is set up, you can upload standard Arduino sketches. For a 'Hello, World!' equivalent, try the Blink example, modified to use one of the available digital pins (e.g., D4). Connect the Wemos D1 Mini via its micro-USB port, select the correct board and port in the Arduino IDE, and click the Upload button. The board will automatically enter programming mode. For more advanced programming, you can also use MicroPython, CircuitPython, or the Espressif IoT Development Framework (ESP-IDF).